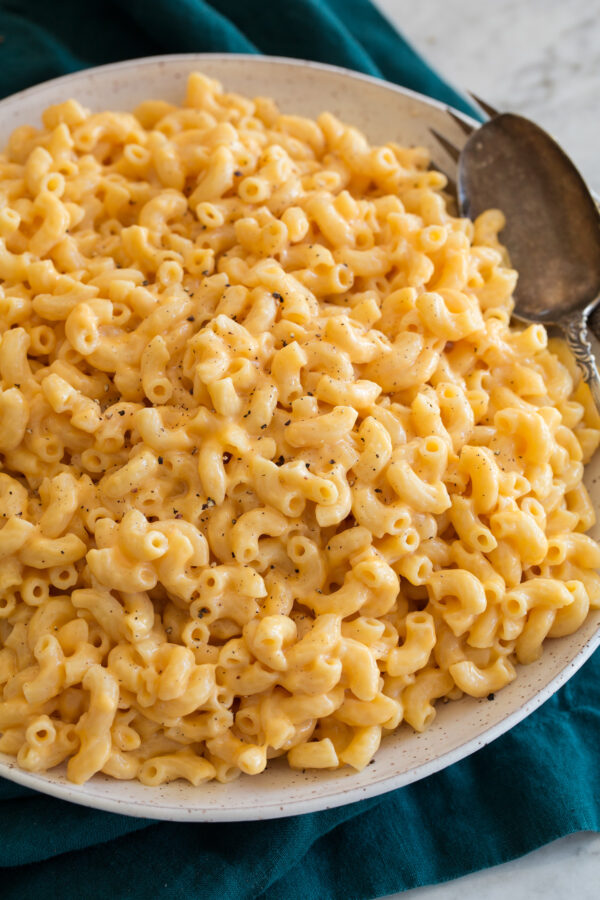
Instant Pot Mac and Cheese
Instant Pot Mac and Cheese – the easiest homemade mac and cheese you’ll ever make! It starts with just a handful of ingredients yet it’s luxuriously rich and creamy and decadently cheesy!
#Butter #CheddarCheese #ChickenBroth #GruyereCheese #HalfAndHalf #Pasta
Servings: 4
Ready in: 30 minutes
Prep: 10 minutes
Cook: 20 minutes
Ingredients:
267 ml water
430ml low-sodium chicken broth
8 oz. dry elbow macaroni pasta (recommend Barilla for consistent results)
Salt and freshly ground black pepper
0.25 cup half and half, heated until just warm, plus more to thin as needed
1.5 Tbsp unsalted butter, diced into 1 Tbsp pieces
4 oz. (2 cup) shredded sharp cheddar cheese*
2 oz. (1 cup) shredded gruyere cheese (recommend Murray's)
Instructions:
1. Pour water and chicken broth into Instant Pot. Add pasta, season with salt to taste and stir.
2. Cover securely with lid, set valve to sealing position. Set to manual pressure and 3 minutes. It will take about 10 minutes to come to pressure then time will start to count down.
3. Once time is up, turn instant pot off and carefully do a quick release (stand back it will steam intensely!). Once steaming has stopped completely and there's not pressure remaining remove lid.
4. Add butter and pour in half and half. Gently toss until butter has melted.
5. Add cheese and stir. Let it rest for 1 minute then toss until cheese has melted (if needed you can set Instant Pot to saute mode just briefly to help melt cheese). If needed thin with more half and half (it doesn't need to be warm).
6. Serve warm with pepper if desired. Let cool slightly to thicken if needed.
Notes:
Only use freshly grated cheeses, pre-grated cheeses are coated with starches and won't melt smoothly. They don't taste as good either.
Optionally you can top servings with toasted panko breadcrumbs. Prepare while macaroni is cooking. Melt 1 - 2 Tbsp butter in a 10-inch skillet over medium-high heat. Add panko and spread even, let toast, tossing frequently until golden brown. Pour into a bowl so it doesn't continue to brown and set aside until ready to use. ...read more
